


Aspire Bulk Import Tool: Using the Manage People Page
Overview
Course managers who have Owner or License Manager permissions can add new people to the Lexia Aspire® Professional Learning platform.
Course managers can use the Bulk Import tool to upload a spreadsheet of participants.
This article describes how to use the Bulk Import tool on the Manage People page, which adds participants but does not automatically assign them licenses.
Before you start:
Do you only need to add a few people? See: How do I add people to my Aspire implementation?
Would you like to add people and assign licenses to them at the same time? See: Aspire Bulk Import Tool: Adding People from a License Set
Course Owners can add new Course Managers to their Aspire implementation.
Applies to: Course managers who have Owner or License Manager permissions for Lexia Aspire® Professional Learning.
Does not apply to: Course managers who have Cohort Manager or View Only permissions or educators who are participants of Lexia Aspire® Professional Learning.
Prepare the import
STEP ONE: Download your customized template
Log in to lexiaaspire.com.
Make sure you are accessing your account as a course manager.
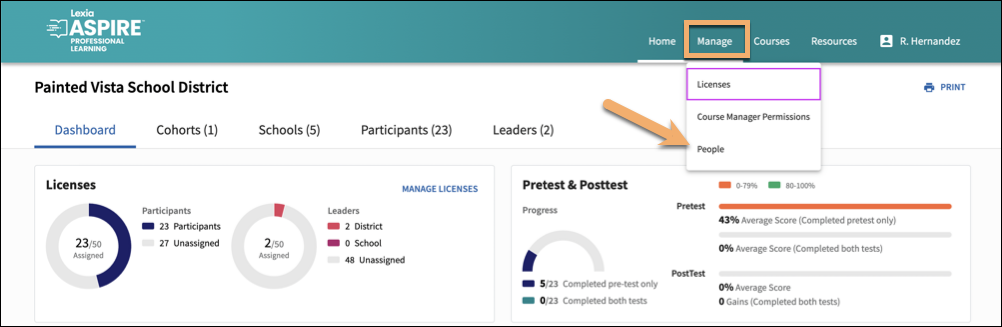
Select the Manage menu, then select People from the dropdown menu.
Select the Imports tab.
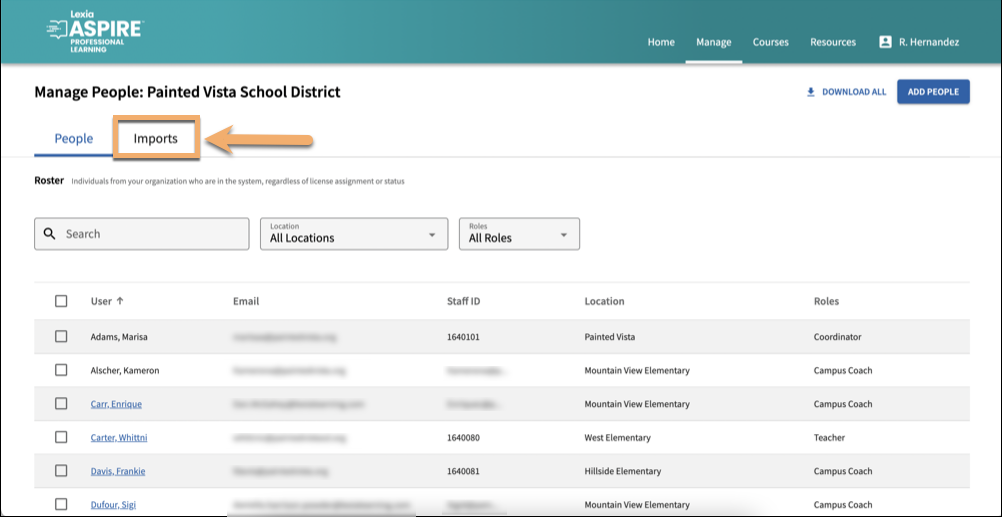
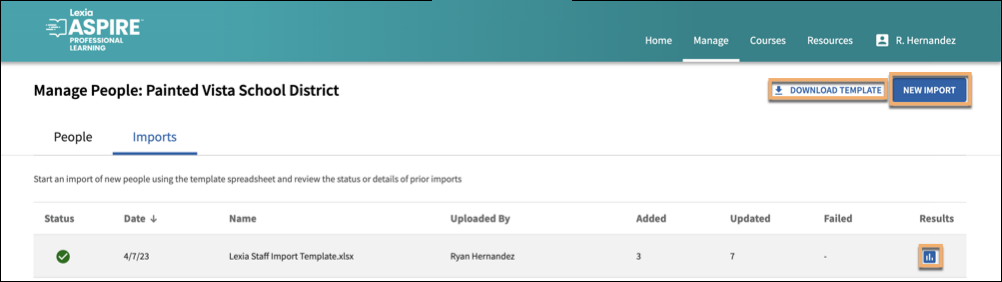
Select Download Template.
STEP TWO: Fill out your customized template
Locate and open the customized template you downloaded.
Fill out this template, following the directions on the third tab of the spreadsheet.
Save your spreadsheet.
To learn more about filling out the template, see Fields for Aspire Participant Data Template
STEP THREE: Upload and preview your spreadsheet import
Select New Import.
Drag and drop, or navigate to your saved spreadsheet. Your upload will start automatically.
You will see the system proceed through uploading, scanning the file, and completing the import preview.
When it is finished, select Continue to Preview.
On the Import Preview page, review the results of your upload.
No errors found:
Great job! If there are no errors, you'll see a Congratulations! message, and the Start Import button will be available.
Select Start Import. You will see the import Status and a Green Checkmark when the import is complete.
Errors found:
It happens to the best of us! The number of errors are shown in the Errors Found box, and errors are listed. You may choose Cancel or Start Import.
(Recommended) Select Cancel to cancel the import, then fix the errors in your spreadsheet, save the updated version, and try the import again.
If there is at least one row without errors, you have the option to select Start Import. Rows with errors will not be imported.
Do you need help fixing the errors in your upload? See Troubleshooting Aspire Bulk Import Tool Errors.
Adding participants with this method does not automatically assign licenses. You will need to assign licenses after you upload your spreadsheet.
New participants will not receive automatic notification of their account creation, license assignment, or login credentials from Aspire or Lexia Learning.
Owners and License Managers: After adding a new participant and assigning them a license, share Aspire First-Time Login with participants. This article explains the steps to log in to Aspire for the first time.
Review a previous import
To review previous imports:
From the Imports tab, select the blue icon under the Results column to review the import you would like to review.
If the import contains any errors, select View Error Report to address them. To return, select Back to Import Results.

Select Manage People to return to the import. Select the People tab to view the people you rostered, so you can assign licenses.